Monday, January 9, 2012

Salted Caramel Sauce

Earlier this year, I had surgery to remove my wisdom teeth. I decided not to have the anesthesia since it costs more, and let's just say that if I had to do it over again... drug me up! Maybe I am a wimp, but it was HORRIBLE. I decided I would rather go through labor again. (Although, I am sure that if I were actually in labor, I would be thinking I'd rather have the wisdom tooth extraction.)
Anyway, while I was laid up in bed, I realized that we had the cooking channel for free that week. WOOHOO! I caught an episode of Kelsey Nixon's show called "Kelsey's Essentials", and she made salted caramel sauce. And even though I was in pain, throwing up, and bleeding.. I still wanted to make salted caramel sauce. SO, I finally did! I used her recipe as a base, and made a couple of changes. (More salt and butter....what?! In my defense, the butter that I bought came in 4 TBSP sections, so I was lazy and threw it all in.) Had I known how easy this really was, or how delicious, I would have made it sooner.
I've been adding a bit to my coffee in the morning, with a splash of creamer. It takes the place of sugar...just tastier! You can do whatever you want to with this. It makes a great topper for ice cream or cheesecake, or whatever your heart desires! :)

Salted Caramel Sauce

INGREDIENTS
1 cup sugar
1/4 cup water
3/4 cup heavy cream
4 tablespoons unsalted butter
1-1/4 teaspoons kosher salt

DIRECTIONS
In a saucepan, combine the sugar and water. Bring the mixture to a slow boil without stirring.(While your sugar mixture is on the stove get all of your other ingredients measured and ready to add.) Continue to boil the sugar water (about 5-6 minutes) until it reaches an amber color. Remove mixture from heat and carefully whisk in the heavy cream. The mixture will harden for a few seconds and bubble up, but continue to whisk until everything is smooth. Stir in the butter and salt. Transfer to a mason jar and enjoy!

Saturday, December 10, 2011

Birchbox December 2011

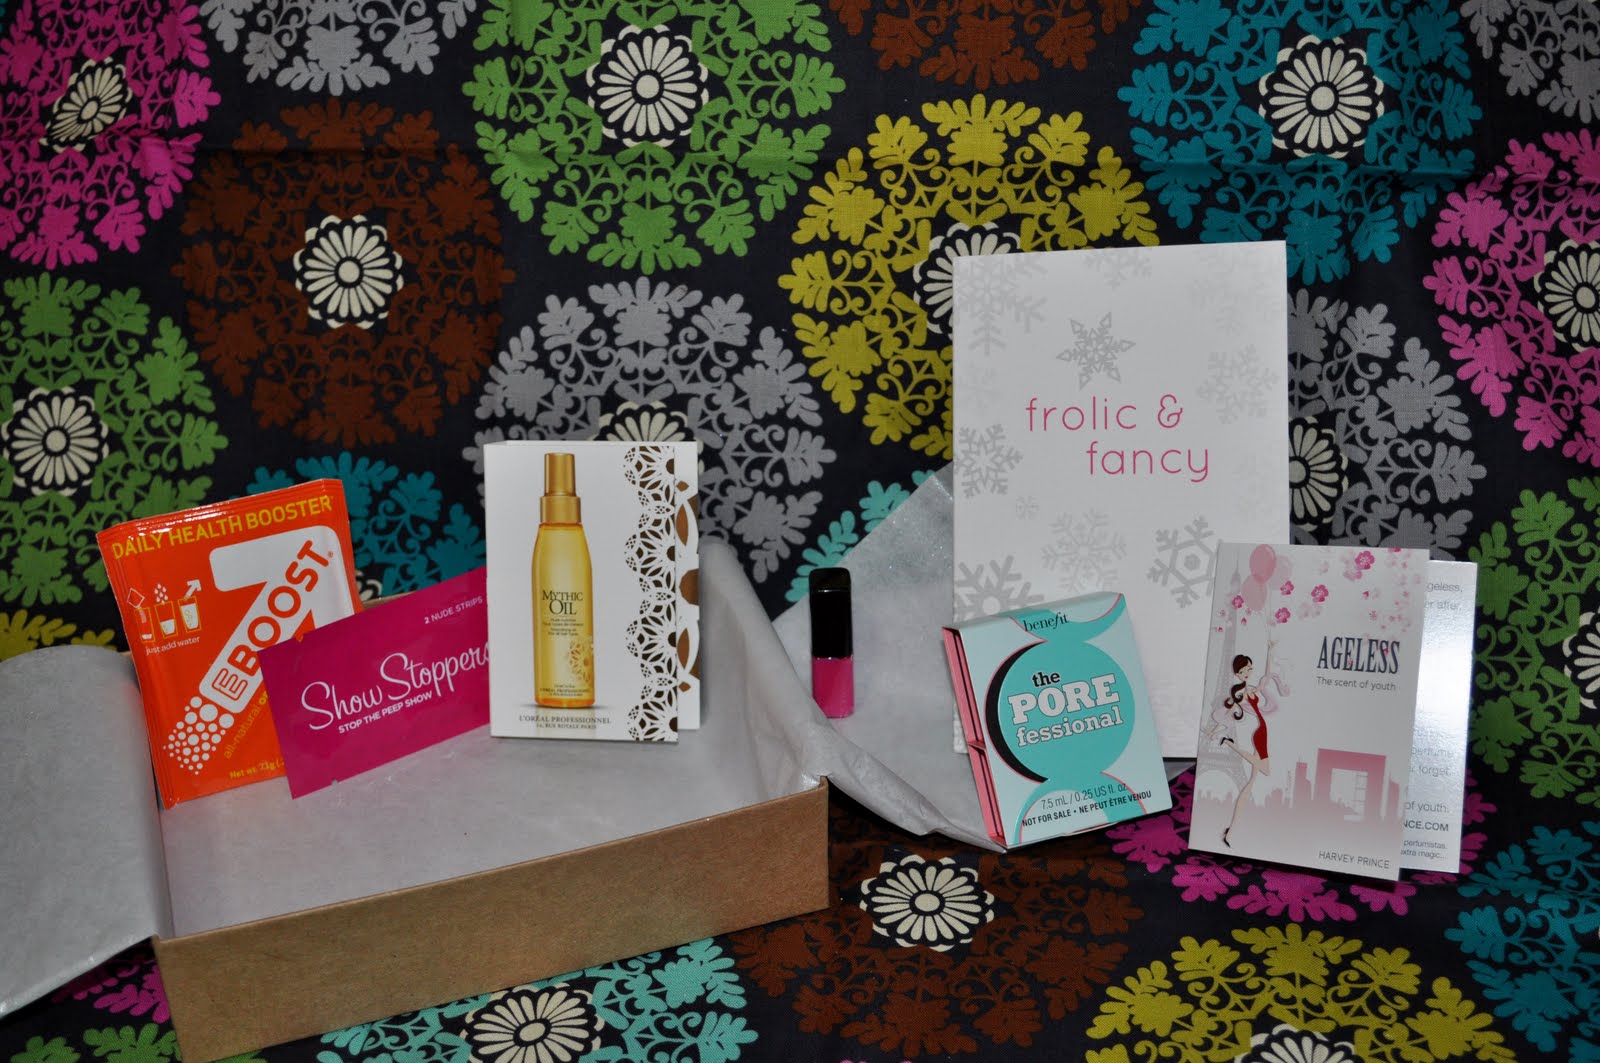
So have you guys heard of Birchbox yet? I am all over this! I LOVE trying out new products, but don't want to waste my money on a full-size product that I might not like, so this is the solution: A Birchbox! "Four to five hand-picked deluxe samples delivered to your door for $10 per month." Free Shipping.

Here is what was included in December's Birchbox.

I am excited to try this stuff! I am LOVING That perfume too! The box also included a $20 off a $75 purchase from Birchbox. (Birchbox sells full sized products too, so if you really like something, you can order it!)
So if you are a beauty product guru, this might be something for you!

Wednesday, December 7, 2011

These are a few of my favorite things...

I figured I would do a quick post about a few of my favorite things right now. :)

1. Flour and Sugar Glass Canisters.
I bought these canisters and "improved" them by using my Silhouette! So much fun, and I L.O.V.E. these :) They look fabulous on my counter, plus I have a large container to hold ALL of my flour and sugar in now. Before I had these, I had flour and sugar in a few different containers because I had nothing big enough to hold it all.
If you are interested in buying a set of these, you can email me at abarber1029@yahoo.com

2. NAKED 2 Palette!!
This is AWESOME. You guys know I loved the Naked palette by Urban Decay, and now they have a follow up one. I think I may even like it better than the first one! Love the colors, love the packaging, love the fact that they threw in a double-ended brush this time. It also came with a small Lip Junkie Lip gloss in Naked--It's great, I just forgot to add it in the pic. Yes, I bought these the MINUTE they came out. I think they are already on back order, but keep checking the website!
http://www.urbandecay.com/

3. mark. Cosmetics makeup bags.
I have all three of these. The gold one is really big which works great for travel, and the small one is what I use in my purse to hold a lip gloss, mascara, and powder. I probably use the mid-sized purple one the most though. It is just the perfect size.

4. Lip gloss.
Cutest packaging ever. Thanks mark.! :)

5. Shea Cashmere Shower Cream and Body Cream
Smells dreamy and is the perfect formula for moisturizing; not too greasy.
www.bathandbodyworks.com
6. Softsoap Wintermint Party body wash.
You can get this stuff at Wal-Mart. Smells just like peppermint, and is very refreshing!
7. Starbucks Salted Caramel Hot Cocoa mix.
Need I say more?? Other than you can get this at Wal-Mart in the Christmas Gift section.
8. Comfort & Joy Scentsy bar.
"Combine the anticipated with the unexpected. Spicy, familiar woods marry with surprising white florals, pure citrus, and just a nibble of gingerbread for a winter fragrance that’s anything but ordinary."
To me, this smells very fresh and clean. Love it. Makes my house smell like I have been cleaning, when we all know I have been blogging instead.
www.amberbarber.scensty.us
Try these out...all of them, or just a few! :)

Sunday, December 4, 2011

30 Sucks Pajama Party

My best friend recently turned 30 and to celebrate, we had a "30 Sucks Pajama Party". There were strict instructions to not bring your children! When you turn 30, you at least deserve a little grown-up time without being interrupted with the constant barrage of "Mama, Mama, Mama". However, our "grown-up" time was thought to be best spent by having a sleepover. A throw-back to remembering our younger days, if you will. :) It was very cliche. We even watched "13-going on 30". (Well, at least I did. By the time we got to the movie, the term "Sleepover" was taken literally by most.)

30 really doesn't suck, but we really wanted to make some sucker center pieces for the tables. Cute huh?! (At least I don't imagine it really sucks. I will soon find out.) We also had cereal boxes for breakfast since it WAS a sleepover.
Here is the set up :) We gathered here in my Studio. I love this room by the way. This is my space: the place where I work, craft, chit-chat with friends, etc. I am working on turning it into a "Coffee Shop" themed place, little by little.
And the Birthday Girl's favorite cupcake (according to her husband) is a Pumpkin Cupcake. I decided to make Pumpkin Spiced Latte Cupcakes with Whipped Cream Icing. I found the recipe here. I stuck with the recipe for the most part. I nixed the espresso powder and used instant coffee granules, added more sugar (why not?!), and a cream cheese filling. Now the icing job is lacking on all accounts, but that is what happens when you are impatient and won't go to Hobby Lobby to buy a large Wilton decorator tip. All that matters was the cupcakes were delish :)
HA-Here is the Birthday Girl, Cassidy. I was trying to leave her nameless, in case she cared, however .... (Sorry, I don't photo shop.)
We got wild and crazy with a game of Phase 10 :)

This was my sly way of seeing all of the cards everyone had....haha! :)

We set up an air mattress in the living room and the kids were all too happy to play on it in the morning. :) Here is MK enjoying her cereal while sitting on it.

And here is my other little sweetie. She spent the night with a friend of ours..and had a WONDERFUL time! (Thanks again HOLLY!)
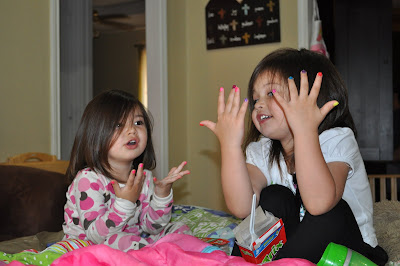
And yes, Holly is the coolest; she even paints fingernails whatever color you want...and that includes EVERY color. :)

I would say that Cassidy's turning 30 was pretty anticlimactic, but that's how we want to keep it! I mean, 30 isn't the end-all. Martha Stewart didn't become "Martha" until she was 41... so we have plenty of time to accomplish what we want to, Lord willing. :)
Happy 30th Birthday Cassidy! Love ya :)

Sunday, November 6, 2011

Halloween

I realize I am late getting this post up. It is already November! Regardless, the girls had a Happy Halloween. They were decked out in Disney Princess Costumes. Macyn loves Snow White, or "Nose White" as she calls her, and Addison picked Cinderella. I was almost certain she would pick Rapunzel, but I was wrong! I honestly don't even think she has ever seen Cinderella, but I think the crown on the Disney website drew her in. We ordered everything from the headbands, to the wands, to the light up shoes... however the shoes were WAY too small. I won't ever buy Disney Princess shoes again, for that reason. They are too hard to figure out the size, especially when buying online.


We went to the church Hallelujah Night and met up with some friends. Here is Bubba in a CUTE monster costume playing games with Macyn.
They bowled for candy, fished for candy, threw bean bags for candy...you name it. Of course, the #1 attraction was the bounce house.

Gorgeous Annalise
The girls loved this holiday, especially since playing dress up is what they love to do! :)

Friday, October 28, 2011

It's all about the Oven!

Not many things in the kitchen surprise me anymore, but I had NO IDEA you could make tons of grilled cheese sandwiches all at once...in the oven! Who knew? It seems like such a simple idea, yet I never thought of it. Trust me, I have wasted PLENTY of time standing over a skillet, making one grilled cheese after another, only to find that by the time they are all done, the first one is cold!
I went to my mom's house last night, and she made them in the oven..all at once. She works at an school, and learned this trick from the lunch ladies. (And I believe the lunch ladies have all of the answers!! :))
Here is how you do it:
1. Preheat your oven to 450 degrees.
2. Assemble your grilled cheese sandwiches like you normally would, buttering the sides of the bread facing the outside. (Mom used one and a half slices of American Cheese in hers, and they were perfect.)
3. Place on a cookie sheet and bake for about 6 minutes.
4. Take them out and flip them over and bake for an additional 2-3 minutes, until they are done.

Now, you didn't stand over a stove for forever, and all of the sandwiches are ready to serve at once, and noone has to get stuck with the cold one! A revolution in sandwich making! :) So simple.

I also wanted to share a new Christmas gift idea--Personalized Casserole Dishes! :) I can make these with pretty much any design and any name. Aren't they cute?? Thank you Pinterest! (I am totally addicted to that website, but who isn't???) I am charging $30 for a 9x13, and $25 for a 9x9. (Including covers). I will ship for an additional $7.
Front
Back
These are oven safe and permanently etched! So you don't have to worry about any designs rubbing off with oven use, etc. Now you can take those dishes to your potluck, and KNOW you will get your dish back!
To order: Go to my Etsy store http://www.etsy.com/listing/84867209/glass-etched-casserole-dish or you can send me a message at amber_barber@suddenlink.net

**AMBER**

Monday, October 10, 2011

Crock-pot Buffalo Chicken

I found a recipe that I really like: Crock-pot Buffalo Chicken. It's super easy and you can eat it lots of different ways including: Buffalo Chicken Sandwiches, Buffalo Chicken baked potatoes, Buffalo chicken nachos, etc. I also used some of the leftovers to make a Buffalo Chicken dip that was fabulous!
Here is the rundown. Place your frozen chicken breasts in a crock-pot, sprinkle with dry ranch dressing mix, and pour on 1/2 a bottle of Frank's Red Hot Wing Sauce. (I used a whole bottle, according to the recipe, and decided that 1/2 would have been sufficient and not as soupy.)
Cook on Low for 8 hours and shred.
Serve it up however you want! I have included the recipe for the Buffalo Chicken Dip, which turned out great!

Crock-pot Buffalo Chicken

INGREDIENTS:
4-6 Frozen chicken breasts
1 pkg. Dry Ranch Dressing mix
1/2 bottle of Frank's Red Hot Wing Sauce

DIRECTIONS:
Place all in crock-pot and cook on low for 8-hours


Buffalo Chicken Dip
INGREDIENTS:
1 C. of prepared Crock-pot Buffalo Chicken (See recipe)
2 pkgs. cream cheese, softened
1/2 C. green onions, chopped
1 tsp. Lawry's Seasoned Salt
1 C. Sharp Cheddar

DIRECTIONS:
1. Mix chicken, cream cheese, green onions, and seasoned salt in a bowl.
2. Spray a shallow baking dish, such as a pie plate, with non-stick cooking spray.
3. Pour mixture into the dish and top with the cheddar cheese.
4. Bake at 350 degrees for about 20 minutes, until cheese is hot and bubbly.